



























.svg)
.svg)
.svg)
How to Use Inspect Element for Web Scraping in 2026
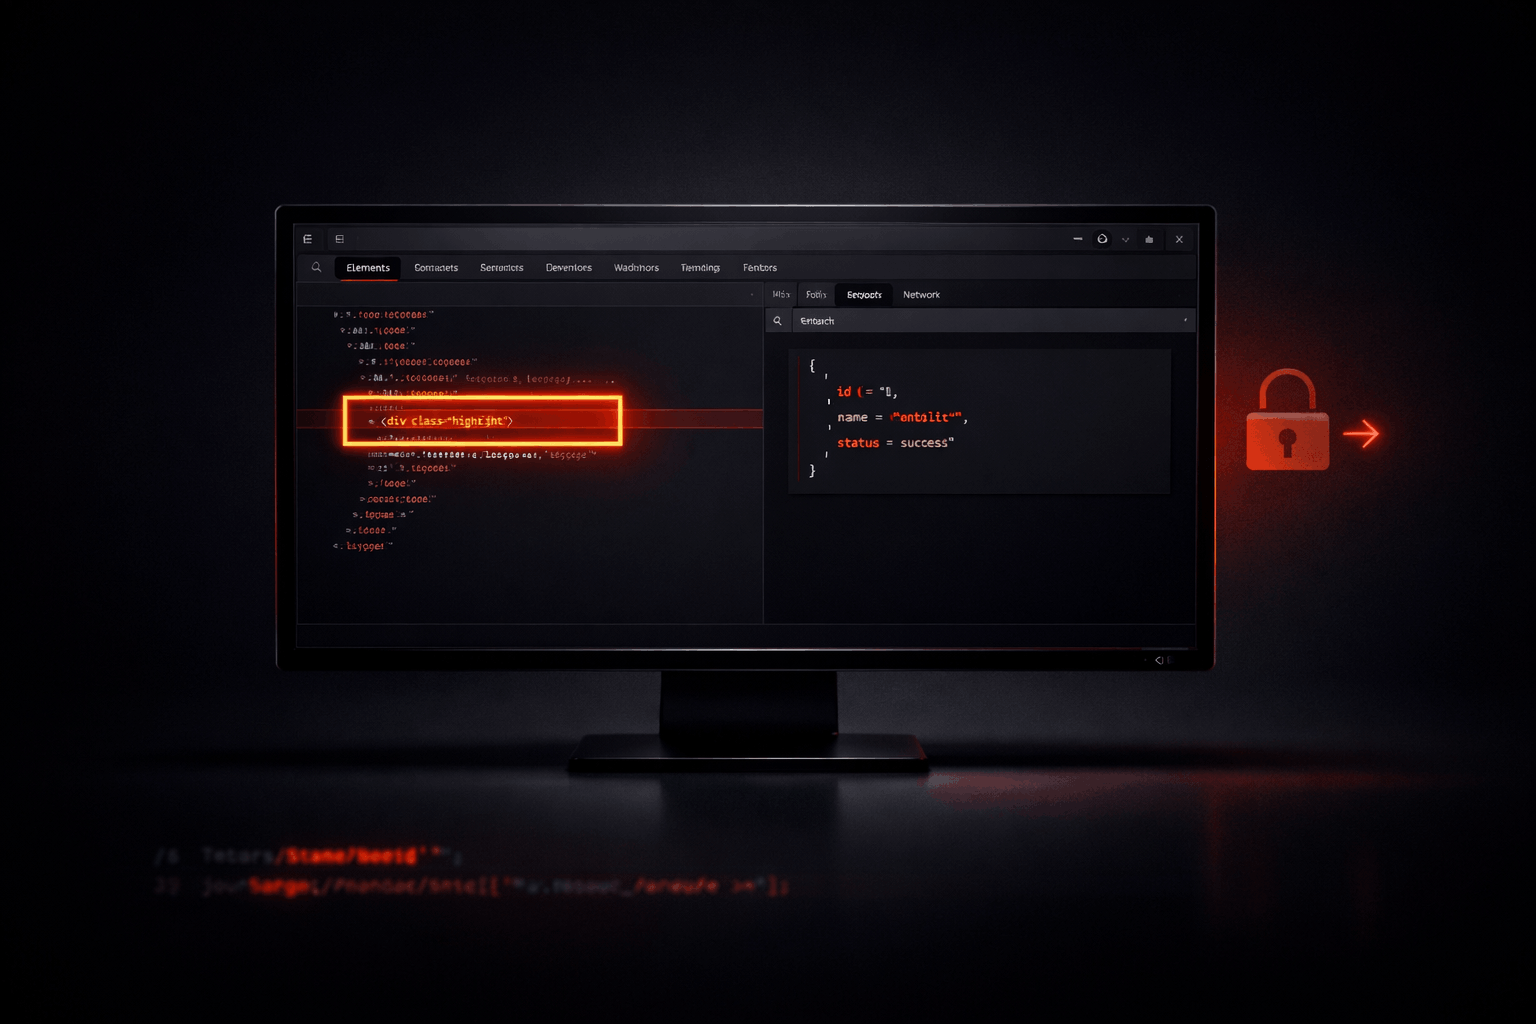
Inspect Element is the first step in every scraping project, not the last. It tells you what structure the page has, which selectors to target, and often reveals a cleaner data source than the HTML itself.
- For static pages: use the Elements tab to find CSS selectors or XPath, then pass those into BeautifulSoup or Scrapy.
- For dynamic pages: skip the Elements tab. Go straight to the Network tab, filter by Fetch/XHR, and look for the JSON API the page is calling. Scraping that API directly is faster and far less fragile than parsing rendered HTML.
- CSS selectors vs XPath: CSS is faster and more readable. XPath wins when you need to traverse parent-child relationships or select by text content. The auto-copied XPath from DevTools often breaks; write a minimal one manually.
- Request headers matter. The Network tab shows you exactly which headers a real browser sends. Copy those into your scraper or you will get blocked even with a clean proxy.
- When sites start blocking you at scale: the selector work is done. The problem is now IP-level. Rotating residential proxies assign a fresh IP per request and are the standard fix for sites with rate limiting or bot detection.
- TorchProxies does not have a built-in Inspect Element tool. You use your browser for that step. TorchProxies handles the proxy layer that keeps your scraper running once you have built it.
How to use Inspect Element for web scraping is usually the first practical question someone hits when they move from "I want to scrape this" to actually building the thing. Every scraping project starts with the same two steps: understand the structure of the target page, then write code to extract it. Inspect Element handles step one. This guide covers both steps, including the part most tutorials skip: what to do when the data is not in the HTML at all, which is increasingly common in 2026 as more sites load content dynamically through JavaScript. Let's get into it.
What Inspect Element Actually Does for Scrapers
Inspect Element is not a scraping tool. That distinction matters. It is a browser feature that lets you read the HTML structure of any webpage, find specific elements, examine the CSS that styles them, monitor network requests, and run JavaScript in the page's context. Developers use it to debug. Scrapers use it to plan.
The workflow is straightforward. You open the page you want to scrape, open DevTools, find the element that contains your data, identify how to target it programmatically (via a CSS selector, XPath, or a network request), and then write the scraper code that uses that targeting information. Inspect Element gives you the map. Your scraper does the actual extraction.
The thing that catches most beginners here is assuming that what you see in the Elements tab is what your scraper will receive. It is not always the case. The Elements tab shows the rendered DOM, which includes all the JavaScript modifications that happened after the page loaded. The actual HTTP response your scraper gets with a plain requests.get() call might look completely different if the page uses client-side rendering. More on this in the static vs dynamic section.
Opening DevTools: Chrome, Firefox, Safari
The shortcuts are consistent enough that this section is short. Know these and you will never need to find the menu option again.
| Browser | Windows / Linux Shortcut | macOS Shortcut | Via Right-Click | Notes |
|---|---|---|---|---|
| Chrome | F12 or Ctrl+Shift+I |
Cmd+Option+I |
Right-click → Inspect | Most widely used; this guide uses Chrome as reference |
| Firefox | F12 or Ctrl+Shift+I |
Cmd+Option+I |
Right-click → Inspect | Firefox DevTools are nearly identical to Chrome's for scraping purposes |
| Safari | N/A | Cmd+Option+I |
Right-click → Inspect Element | Must enable Develop menu first: Safari → Settings → Advanced → Show features for web developers |
| Edge | F12 or Ctrl+Shift+I |
Cmd+Option+I |
Right-click → Inspect | Chromium-based; identical to Chrome DevTools |
The right-click approach, right-clicking directly on the element you want to inspect and selecting Inspect, is the fastest way to open DevTools with the relevant element already highlighted in the Elements panel. Use this rather than opening DevTools separately and navigating to the element manually. It saves steps every time.
Ctrl+Shift+C in Chrome). This activates the element picker, which lets you hover over any part of the page and see its HTML element highlighted in the Elements tab in real time. For scraping, this is the fastest way to pinpoint exactly which HTML element contains the data you want.
The Elements Tab: Finding Selectors That Work
The Elements tab shows the full HTML structure of the rendered page as a collapsible tree. This is where you identify how to target specific data points for extraction.
How to Find the Right Element
Right-click on the specific text or data you want to scrape and select Inspect. DevTools will open with that element highlighted. Look at the surrounding HTML structure: the element's tag name, its class attributes, its id if it has one, and where it sits relative to parent and sibling elements.
What you are looking for is a selector that is specific enough to uniquely target your data, but not so specific that it breaks if the page layout changes slightly. The auto-generated selectors from DevTools are often too long and fragile. Honestly, this is more confusing than it needs to be when you first start. Here is the practical rule: prefer a short, meaningful class name over a long positional path.
Copying CSS Selectors from DevTools
In the Elements tab, right-click on the highlighted HTML element. Choose Copy, then Copy selector. Chrome gives you a full CSS path, something like div.product-list > div:nth-child(2) > span.price. That auto-generated selector will often work but tends to break when the page adds new elements or reorders content.
The better approach: look at the element's own class or ID and write a minimal selector. If the price element has class="product-price", your selector is just .product-price. Test it in the Elements tab search box (Ctrl+F in the Elements panel) to confirm it matches what you expect.
// Paste this in the Console tab to see how many elements match your selector
document.querySelectorAll('.product-price').length

// Preview the text of the first match
document.querySelector('.product-price').textContent
Run these in the Console tab before writing any scraper code. If querySelectorAll returns the right count and the text content matches what you want, the selector is valid. This is worth getting right before you scale.
Copying XPath from DevTools
In the Elements tab, right-click the element, choose Copy, then Copy XPath or Copy full XPath. The regular XPath is shorter; the full XPath is the complete path from the document root.
The auto-generated XPaths from DevTools frequently break in production scrapers. The problem is they often include positional indices like /div[2]/span[1] that depend on the exact page structure. Add one item to the list, and the indices shift. I have seen this trip people up before, especially on pagination-heavy sites where product counts vary per page.
Write a targeted XPath instead. If you want all elements with a specific class: //span[@class='product-price']. If you need an element containing specific text: //button[contains(text(), 'Add to Cart')]. These are stable even when the page structure shifts.
CSS Selectors vs XPath: Which to Copy and When
Both target HTML elements. The choice matters operationally because they have different strengths and different failure modes in scraping.
| Feature | CSS Selector | XPath |
|---|---|---|
| Syntax readability | Cleaner | More verbose |
| Performance | Faster in most parsers | Slightly slower |
| Select by text content | Not supported | Yes: contains(text(), 'x') |
| Traverse to parent element | Not supported | Yes: parent::, ancestor:: |
| Select siblings | Limited (adjacent, general) | Full sibling traversal |
| Browser DevTools copy quality | Often too specific | Often position-dependent |
| Support in BeautifulSoup | Yes (select method) | No native support (use lxml) |
| Support in Scrapy | Yes | Yes |
Default to CSS selectors. They cover the majority of scraping use cases and are supported directly in BeautifulSoup's select() method. Switch to XPath when you need to select by text content, navigate to a parent element, or handle a structure where CSS selectors cannot uniquely target what you need.
<h2 class="product-title">Widget X</h2>, use CSS: .product-title. If you need to find a div that contains the word "Sold Out" and get the parent container's price, use XPath: //div[contains(text(),'Sold Out')]/ancestor::div[@class='product-card']//span[@class='price']. You would not write the second one with CSS alone.
The Network Tab: Finding Hidden APIs
This is the section that changes how you scrape. Most tutorials cover the Elements tab and stop there. The Network tab is where significantly more interesting things happen, and for modern sites it is often the more important tool.
Many websites do not serve their data directly in the initial HTML response. They serve a page shell and then make separate JavaScript-driven requests to internal API endpoints to fetch the actual content. The product prices, search results, reviews, and user data load asynchronously after the page renders. The Elements tab shows you the result of all this after it has happened. The Network tab shows you the individual requests that made it happen.
The Hidden API Workflow
Open DevTools, click the Network tab, and filter by Fetch/XHR. This filter shows only data requests, excluding images, stylesheets, and scripts. Now reload the page. Watch the requests appear. Scroll through the page or interact with it (click pagination, submit a search, expand an accordion). Every interaction that loads new data will trigger a new request in the Network tab.
When you find a request that returns JSON containing the data you want, click it and check four things: the URL (your endpoint), the Method (GET or POST), the Request Headers (what the server expects), and the Response body (the actual data structure). Right-click the request and select Copy as cURL. This gives you a complete, ready-to-run command that includes the URL, method, and all headers exactly as the browser sent them.
# After right-clicking a Network request and selecting "Copy as cURL",
# paste it at curlconverter.com to get this Python equivalent:

import requests

url = 'https://example.com/api/v2/products?page=1&category=electronics'

headers = {
    'User-Agent': 'Mozilla/5.0 (Windows NT 10.0; Win64; x64) AppleWebKit/537.36',
    'Accept': 'application/json, text/plain, */*',
    'Accept-Language': 'en-US,en;q=0.9',
    'Referer': 'https://example.com/products',
}

response = requests.get(url, headers=headers)
data = response.json()

# Clean structured data. No HTML parsing needed.
for product in data['products']:
    print(product['name'], product['price'])
The reason this approach is better than HTML parsing for dynamic sites: the API returns clean, structured JSON with consistent field names. No CSS selector changes when the site redesigns. No parsing fragility. The data comes pre-structured. The only maintenance risk is if the site changes its internal API, which happens less frequently than frontend HTML restructuring.
What If the API Requires Authentication Headers?
Some internal APIs send custom authentication tokens in request headers, things like X-Auth-Token, Authorization: Bearer <token>, or session cookies. The Network tab shows these in the Request Headers section. Include them in your scraper exactly as you see them.
The complication is that these tokens often expire or rotate per session. If the token in your scraper stops working, you may need to automate logging in and extracting a fresh token before each scraping run. I have not personally needed to go that deep on most scraping projects I have worked on, but it is a real scenario for authenticated content. Session cookie handling with the requests.Session() object in Python is the standard approach for this.
robots.txt file (accessible at example.com/robots.txt) and its Terms of Service. Robots.txt indicates which paths the site does not want scraped. The 2022 hiQ v. LinkedIn Ninth Circuit ruling confirmed that scraping publicly available data does not violate the Computer Fraud and Abuse Act in the United States, but Terms of Service violations can still result in account bans or civil claims. Scrape responsibly, at reasonable rates, and only public data.
Static vs Dynamic Pages: Which Approach Applies
Honestly, this is the decision point that most beginners skip and then spend hours debugging. The wrong approach for the wrong page type wastes a lot of time.
requests to download HTML, BeautifulSoup or lxml to parse it with your CSS selectors or XPath. This is the simplest and fastest scraping workflow.requests.get() call receives the shell only.requests. If no usable API exists, use Playwright or Selenium to render the full page and then extract from the rendered DOM.requests.Session() to log in and maintain cookies across requests. Find the login request in the Network tab to understand the authentication flow. Each request after login uses the session's stored cookies automatically.The fastest diagnostic: open View Source (Ctrl+U) on the page you want to scrape. If the data you want is in the raw HTML source, you are dealing with a static page. If the source shows mostly empty divs and JavaScript includes, the data loads dynamically. Go to the Network tab and look for the API.
Turning What You Find Into a Working Python Scraper
Two complete examples. One for a static page using CSS selectors from the Elements tab. One for a dynamic page using an API endpoint found in the Network tab.
Example 1: Static Page with BeautifulSoup
Scenario: you want to scrape product names and prices from a static HTML page. In the Elements tab, you found that product names use the class product-title and prices use product-price.
import requests
from bs4 import BeautifulSoup

url = 'https://example.com/products'

# Match headers from the Network tab to avoid bot detection
headers = {
    'User-Agent': 'Mozilla/5.0 (Windows NT 10.0; Win64; x64) AppleWebKit/537.36',
    'Accept-Language': 'en-US,en;q=0.9',
}

response = requests.get(url, headers=headers)
soup = BeautifulSoup(response.text, 'html.parser')

# CSS selectors from the Elements tab
titles = soup.select('.product-title')
prices = soup.select('.product-price')

for title, price in zip(titles, prices):
    print(title.text.strip(), '|', price.text.strip())
Example 2: Dynamic Page via Hidden API
Scenario: the same product data loads dynamically. You found in the Network tab that the page calls /api/v1/products?page=1 and returns JSON. You copied the request as cURL and converted it.
import requests
import time

# Endpoint discovered in Network tab, Fetch/XHR filter
base_url = 'https://example.com/api/v1/products'

# Headers copied from the Network tab Request Headers section
headers = {
    'User-Agent': 'Mozilla/5.0 (Windows NT 10.0; Win64; x64) AppleWebKit/537.36',
    'Accept': 'application/json, text/plain, */*',
    'Referer': 'https://example.com/products',
    'Accept-Language': 'en-US,en;q=0.9',
}

all_products = []

for page in range(1, 11):  # Scrape pages 1-10
    params = {'page': page, 'limit': 20}
    response = requests.get(base_url, headers=headers, params=params)
    data = response.json()

    if not data.get('products'):
        break  # No more pages

    all_products.extend(data['products'])
    time.sleep(1)  # Respect the site. Do not hammer at machine speed.

print(f'Scraped {len(all_products)} products')
The sleep between requests is not optional politeness. Sites with any rate limiting will block you significantly faster if you make requests at machine speed. One second between requests is a reasonable starting point. Adjust based on the site's responsiveness and your scraping volume.
When Sites Start Blocking You: Adding Proxies
At some point your scraper stops working. Not because the selectors are wrong. Not because the API changed. Because the site has blocked your IP address. This is where the Inspect Element work ends and the infrastructure work begins.
Sites detect scrapers through consistent signals: the same IP making hundreds of requests in a short period, missing or non-browser-looking request headers, predictable timing patterns between requests. The first two are fixable entirely within your scraper code. The third requires rotating your IP address.
Using the Network Tab Headers to Avoid Early Detection
Before adding proxies, make sure your scraper is sending realistic request headers. Open the Network tab, click any request to your target site, and look at the Request Headers section. You will see headers like User-Agent, Accept, Accept-Language, Accept-Encoding, and Referer. Copy these into your scraper's headers dictionary exactly. A scraper with no User-Agent or a Python requests default User-Agent is identified immediately by any competent anti-bot system.
Adding TorchProxies to Your Python Scraper
Once you have the selectors and headers sorted from DevTools, adding a proxy is a one-line change to your requests call. TorchProxies uses username and password authentication. Credentials are generated in the dashboard.
import requests

# Your TorchProxies credentials from the dashboard
proxy_host = 'residential.torchproxies.com'
proxy_port = '31112'
proxy_user = 'your_username'
proxy_pass = 'your_password'

proxies = {
    'http': f'http://{proxy_user}:{proxy_pass}@{proxy_host}:{proxy_port}',
    'https': f'http://{proxy_user}:{proxy_pass}@{proxy_host}:{proxy_port}',
}

headers = {
    # Headers copied from the Network tab
    'User-Agent': 'Mozilla/5.0 (Windows NT 10.0; Win64; x64) AppleWebKit/537.36',
    'Accept': 'application/json, text/plain, */*',
    'Accept-Language': 'en-US,en;q=0.9',
}

response = requests.get(
    'https://example.com/api/v1/products',
    headers=headers,
    proxies=proxies  # Each request routes through a different residential IP
)

data = response.json()
With rotating residential proxies, each request or session goes through a different IP address from a pool of real home internet connections. From the site's perspective, each request looks like a different user visiting from a different location. This is what actually means in practice: no single IP accumulates enough requests to trigger rate limiting or IP-level blocks.
Sticky vs Rotating: Which to Use for Scraping
| Session Type | Behavior | Best For | TorchProxies Plan |
|---|---|---|---|
| Rotating | New IP on every request or every few minutes | High-volume scraping, price monitoring, data collection at scale | Premium Residential ($4.50/GB) |
| Sticky | Same IP held for a full session (minutes to hours) | Multi-step scraping requiring login, session cookies, or pagination that checks IP continuity | Standard Residential ($4/GB) |
| ISP Static | Fixed IP from a named carrier, never changes | Account management scraping, long-running sessions requiring consistent identity | ISP Proxies ($2.3/IP) |
For most web scraping use cases involving data collection at scale, rotating residential proxies are the right default. Sticky sessions become necessary when the site tracks session state across requests and rejects requests where the IP changes mid-session.
Common Mistakes When Using Inspect Element for Scraping
The Bottom Line
Inspect Element is the starting point, not the full solution. The Elements tab gives you CSS selectors and XPath for static HTML. The Network tab gives you the actual data source for dynamic pages, which is often cleaner and faster to work with than HTML parsing anyway. Use both before writing a single line of scraper code.
The workflow that actually holds up: View Source to check if the page is static or dynamic. Network tab to look for a JSON API before investing in HTML parsing. Elements tab to find stable CSS selectors if you do need to parse HTML. Console tab to validate selectors before running the scraper. Request headers copied from Network tab to avoid early detection. Proxies added at the point where IP-level blocking starts.
FAQs
requests and BeautifulSoup. For dynamic sites that load data via JavaScript, use the Network tab instead: filter by Fetch/XHR, reload the page, and find the API endpoint returning the data as JSON. Scraping directly from the API is faster and more reliable than parsing rendered HTML for most modern sites.requests and BeautifulSoup, or Scrapy. Think of Inspect Element as the reconnaissance step and your scraper as the extraction step. They are two separate tools that work together.div.product-title or #price). XPath is a query language that can traverse the full document tree including parent and sibling relationships (e.g., //div[@class='product-title']/span). CSS selectors are more readable and perform faster in most parsers. XPath is more powerful for navigating complex structures or when you need to select elements based on their text content or relationship to parent elements. For most scraping tasks, CSS selectors are sufficient. Use XPath when CSS cannot reach what you need.robots.txt file and Terms of Service before scraping, and avoid scraping personal data, proprietary databases, or content behind authentication without explicit permission.requests directly against that endpoint, which avoids the need for a browser or HTML parser entirely.robots.txt file. Residential proxies carry significantly higher trust scores than datacenter proxies because they originate from real home internet connections, making them harder for anti-bot systems to flag. TorchProxies Premium Residential provides 90M+ IPs with rotating sessions and no rate limits.